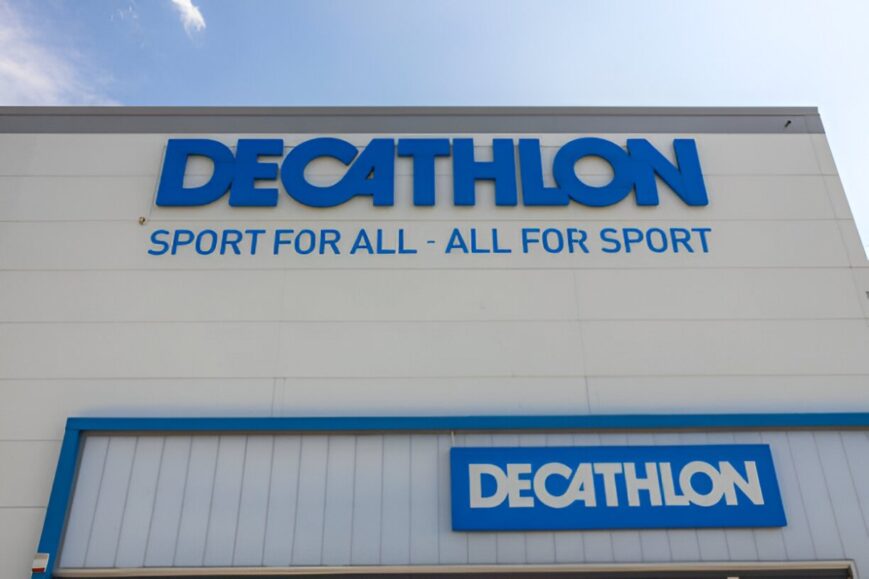
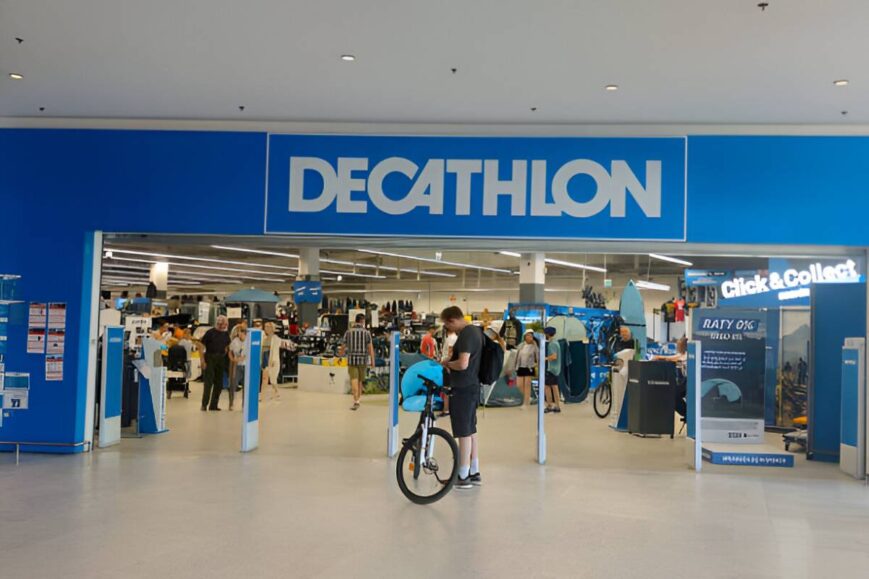
Decathlon Bannerghatta is an extended branch of the international organization of sports. Decathlon has its store in the ecologically developed area of Bannerghatta in Bangalore, Karnataka, India. Furthermore, Decathlon is famous for its sporting and outdoor products, which are available for a decent price. Here’s everything you need to know about Decathlon Bannerghatta:
- Address: Bannerghatta Rd, Kalena Agrahara, Bengaluru, Kothnur, Karnataka 560083.
- Phone: 080955 56217
- Experience: 13 Years in Business
- Ratings: 4.3/5
- Timings: Mon-Fri – 10 AM-10 PM, Sat-Sun – 9 AM-10 PM.
- Holidays: Usually open during most public holidays, but checking ahead during festive seasons is best.
Products and Services:
Sports Equipment & Apparel: Decathlon is a ‘Hybrid Format’ store that offers sports equipment, sportswear and accessories for many different forms of sports including:
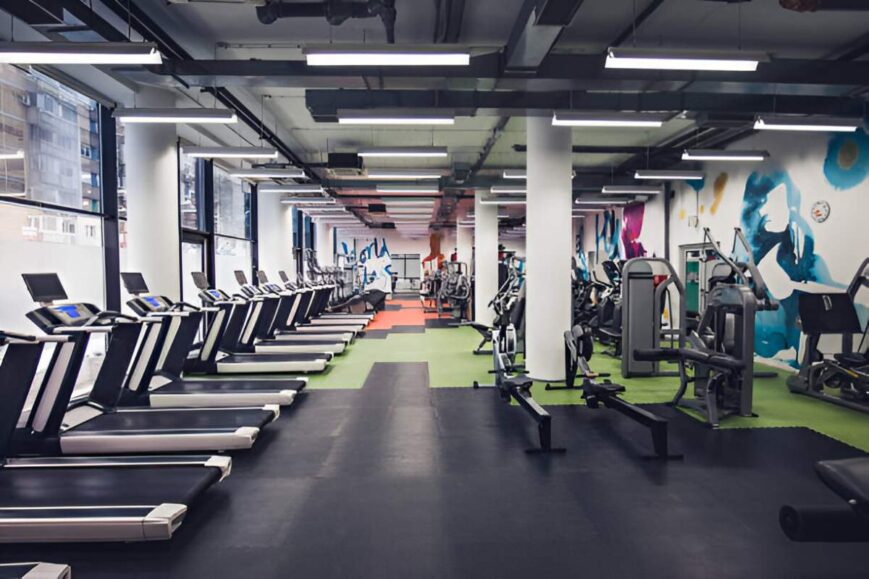
- Gym equipment, Keeping fit, And jogging.
- Masks, Helmets, and Jerseys for Football, cricket, and Basketball
- Hiking, Cycling, and Camping equipment
- We specialize in swimming and water sports gear.
- Yoga Pilates & all Fitness requisites.
Affordable Range: Another factor that works for Decathlon is the issue of cost, as most of its products are relatively cheap. It doesn’t matter if you are an expert or have never taken your trainers on; there will always be something for you based on your wallet.
In-Store Experience:
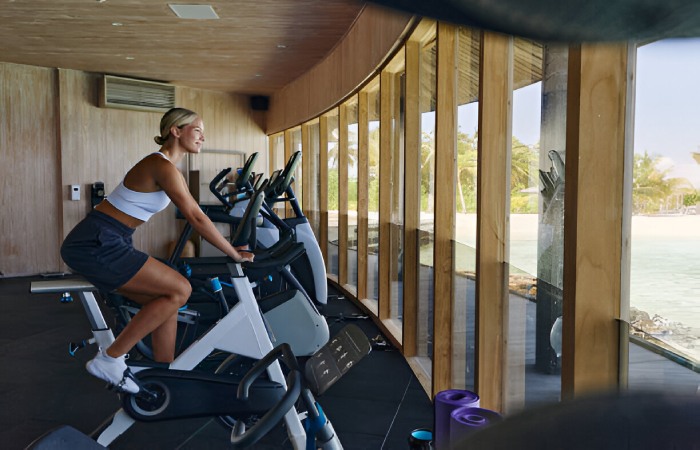
- Product Demos: Most Decathlon stores, including the Bannerghatta store, provide demonstration areas where one can test products such as bikes and fitness equipment, among others.
- Interactive Zones: He also categorized areas that enable customers to practice sports like basketball, table tennis, and Cycling within the store.
- Expert Advice: This site uses staff who are passionate about sports, and you can be advised on what equipment to purchase.
Online Shopping:
Website: For home delivery, you can order from the online shop or store pick up at the Decathlon website. They provide exhaustive information about the product, consumers’ feedback on the particular product, and size charts for most of the sold products.
Events and Workshops:
Additional Decathlon Bannerghatta sometimes tends to have workshops and sessions concerning various sports. These include fitness training, awareness marathons, cycle rides, sports tournaments, etc.
Parking and Facilities:
- Ample Parking Space: One particular advantage of the supermarket is the availability of a spacious and well-developed parking space for two and four, respectively.
- Restrooms and Changing Rooms: Customers can utilize them to try on sportswear and other garments and change into comfortable clothes.
Customer Support:
Most items sold by Decathlon have an open returns and exchanges policy, allowing consumers to return or exchange most products within 90 days, provided the returned item has not been damaged.
Popular Activities:
- Cycling Tracks: Several cycling hobbyists go to Decathlon Bannerghatta to purchase cycles and try out their tracks.
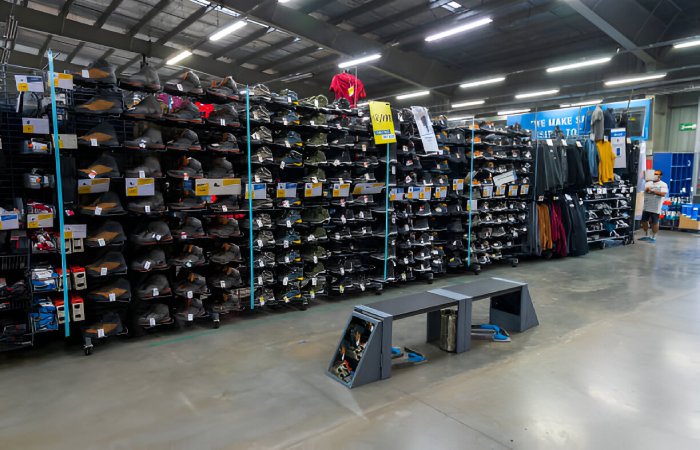
- Trial Zones: Shoes and running wear can be tested before procurement as gear, including outdoor tents.
Community Engagement:
There are many cases where Decathlon actively solicits the participation of the community and, at the same time, negotiates with local gymnasiums and schools to focus on sports. They still offer the services uniquely, and you can check out their social media page for info on the next session.
While visiting Decathlon Bannerghatta, you get everything related to sports, exercise, and fun interactive shopping.